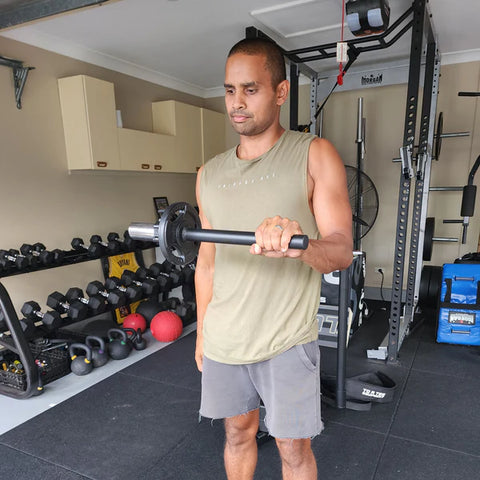
Innovative Uses for the Wrist Bar: Enhance Your Wrist Strength and Flexibility
Explore six innovative exercises using the Wrist Bar to enhance your wrist strength, flexibility,...
If you’re serious about building stronger ankles, improving balance, and reducing your risk of injury across sport and everyday movement, the Ankle Stability Board is one of the simplest and most effective tools you can add to your routine.
At TAT Equipment, everything we design or bring in has a purpose — and when it comes to ankle health, foot strength, and overall lower-body stability, this board punches well above its weight. My goal with this blog is to show you exactly how to use it, the exercises you should start with, and why it’s such an important part of prehab and performance training.
Your ankles are the foundation of pretty much everything you do: walking, running, cutting, jumping, lifting, and even balancing on one leg in the gym. When your ankles are weak or your stabilisers aren’t firing, you’ll often see:
Frequent ankle rolls
Knee pain (yes, it all connects)
Poor balance
Reduced power output
Tight calves or Achilles discomfort
Less confidence changing direction
A stability board targets all the small but powerful muscles in the feet and lower legs, helping you move better, feel more stable, and perform with more control.
Below is a full breakdown of the exercises I recommend — simple, effective, and suitable for beginners all the way to athletes.
Perfect for beginners and warm-ups
How to do it:
Step onto the board with both feet.
Keep a soft bend in your knees.
Hold your balance for 20–40 seconds.
Try to keep the edges from touching the ground.
Why it’s good:
Builds your base level of proprioception and foot control without overloading the ankle early on.
The most valuable ankle stability exercise, hands down
How to do it:
Stand on one leg in the centre of the board.
Keep your hips level — don’t let the opposite hip drop.
Hold for 20–30 seconds per side.
Why it’s good:
Nearly every movement in sport is done off one leg. This is where real ankle strength is built.
For ankle mobility and controlled strength
How to do it:
Stand on the board with both feet.
Slowly rock forward, then back.
Control the movement — don’t speed through it.
Why it’s good:
Targets tibialis anterior (front of shin) and calves, improves ankle mobility, and helps with shin splints.
Probably the most important injury-prevention drill
How to do it:
Stand on the board and tilt side to side.
Move slowly, focusing on control.
Avoid collapsing into either side.
Why it’s good:
Strengthens the smaller stabilisers responsible for preventing ankle rolls.
For multi-directional stability
How to do it:
Stand on one leg.
Slowly rotate the board in a full circle.
Reverse the direction.
Why it’s good:
Teaches the ankle to stabilise through a full range, not just front/back or side/side.
A great option if single-leg is too advanced
How to do it:
Place your front foot on the board in a split-stance position.
Bend both knees slightly.
Hold or perform small pulses.
Why it’s good:
Improves hip–knee–ankle coordination and helps runners, lifters, and field athletes.
Dynamic stability progression
How to do it:
Stand on a low step or box.
Step down onto the stability board.
Absorb softly and balance for 2–3 seconds.
Why it’s good:
A realistic drill that mimics changing direction or landing from a jump.
When you want to level up your proprioception
How to do it:
Start with a single-leg hold.
Close your eyes for 5–10 seconds.
Don’t push past your ability — safety first.
Why it’s good:
Removes visual feedback so your ankles do all the work.
If you want something simple and effective:
20s double-leg balance
20s single-leg balance (each side)
10 forward–back tilts
10 side-to-side tilts
1 single-leg circle each direction
Optional: 10s eyes closed
Perfect as a warm-up for lower-body days, field sport sessions, or morning mobility.
Our entire product focus is built around prehab, mobility, and helping people move pain-free. The ankle stability board fits perfectly into that mission:
✔ Builds foundational strength
✔ Helps reduce ankle sprains
✔ Boosts foot and ankle mobility
✔ Supports healthier knees
✔ Improves performance in nearly every sport
✔ Simple, lightweight, and easy to use anywhere
If you’re working on ankle pain, instability, or just want to move more confidently, this is a must-add to your home setup or coaching kit.
Explore six innovative exercises using the Wrist Bar to enhance your wrist strength, flexibility,...

Ankle mobility is a crucial yet often overlooked aspect of lower body fitness. Whether you're a p...
Building robust hamstrings is not just about enhancing your athletic performance; it's about inju...